Monday, January 28, 2013

Rolled Paper Necklace

Day by Day  Crafting!


Rolled Paper Necklace

I was looking for an inexpensive way to create something cute for my Granddaughters for Valentine's Day.  Both of them enjoy playing dress up and like costume jewelry. 


When I began looking at what I could do to create a cute piece for them, I found that paper jewelry was so cute and easy to do.  Not only can you make beads quickly, it is also a craft that children can make as well. 

This is the style of necklace that I put together for them.  The ones I made for them were longer and in whites and pinks for the holiday.   I didn't take a picture of them before sending them off so you will have to imagine how cute they were.  I added a little heart with their names engraved at the center of their strands.

When I first started looking at making paper jewelry, I found that this craft is being used in poorly developed countries by the women in order to raise funds to help feed and clothe those in need.  I hope that I can pass this worthy endeavor on to my Grandchildren so that one day they can make and sell these paper beads for their own charitable cause.
Supplies:
white paper
magazine pages
newspaper
permanent
glue
ruler
tooth picks or straws
sealer
wire, yarn, string, or other element for stringing.

 
To make your beads, choose a paper for your project.  I actually used all three of the papers listed.  I wanted a variety of colors. 


I wondered if the pages from a popular design magazine would provide beads that were more trendy than my hand marked beads.  I found that they did not.  A picture design that was being used for pillows and upholstery in the magazine did not translate onto the beads because the rolling of the paper only exposed the side color, but fused the other colors together as the bead was rolled. So what I looked for when using these magazine pages was a dominant color.  If the design was made up of creams and browns, your bead would end up quite dark.  If the design had a lot of yellow and white, the bead would be lighter and take on the yellow color. 


Whichever end is rolled last will be your final color in the beads that are cylindrical, while the triangular cuts take on most of the colors in the strip.  Newspaper print is basically gray, but hints of color can 
show through as you choose where your strips will be cut. 
When you want a set color scheme, use the markers and design your own. The necklace shown has beads from all papers and uses a variety of shapes and sizes.  I wanted as many different examples as possible as I strung beads. 


First I made the white paper bead.  Mark 1/4 inch segments along each side of the paper.  Draw one of two types of lines: 1.  Draw a diagonal line from one side to the other: the base of the 1/4" line on one side to the top of the 1/4" line on the other.  2.  Cut straight 1/4" lines in to strips. 

 
Next choose a tooth pick or straw to roll your bead.  I like to use the small coffee stirring straws as they not only give a perfect hole for stringing, but if you cut them just a little larger than the bead being rolled onto them, the straw color will make a nice bead edge color.  The drawback is that when you make these beads for children there is a danger that the straw could come out and could become a choking  hazard.  For the most part, I am stringing these beads onto jewelry wire and I don't make these straw filled beads for children.  The paper beads themselves could also be a hazard though, so I am always careful of who the finished product will go to.
 
To roll your bead, put  some white glue on the paper back.  If you are rolling on the straw, put some of the glue on the straw as well.  Don't put glue on a toothpick, and be sure to leave the initial end that begins the roll onto the toothpick glue free.   

Many bead rollers don't use any glue at all when they roll.  They simply roll the bead tightly onto the toothpick and only put a dab at the very end to hold the bead together.   I personally like the straw and lots of glue as I find it easier to roll.


Now roll the bead.  If it is a triangular piece of paper, the bead will turn out more round.  If it is a 1/4" all the way across, the bead will end up cylindrical. 


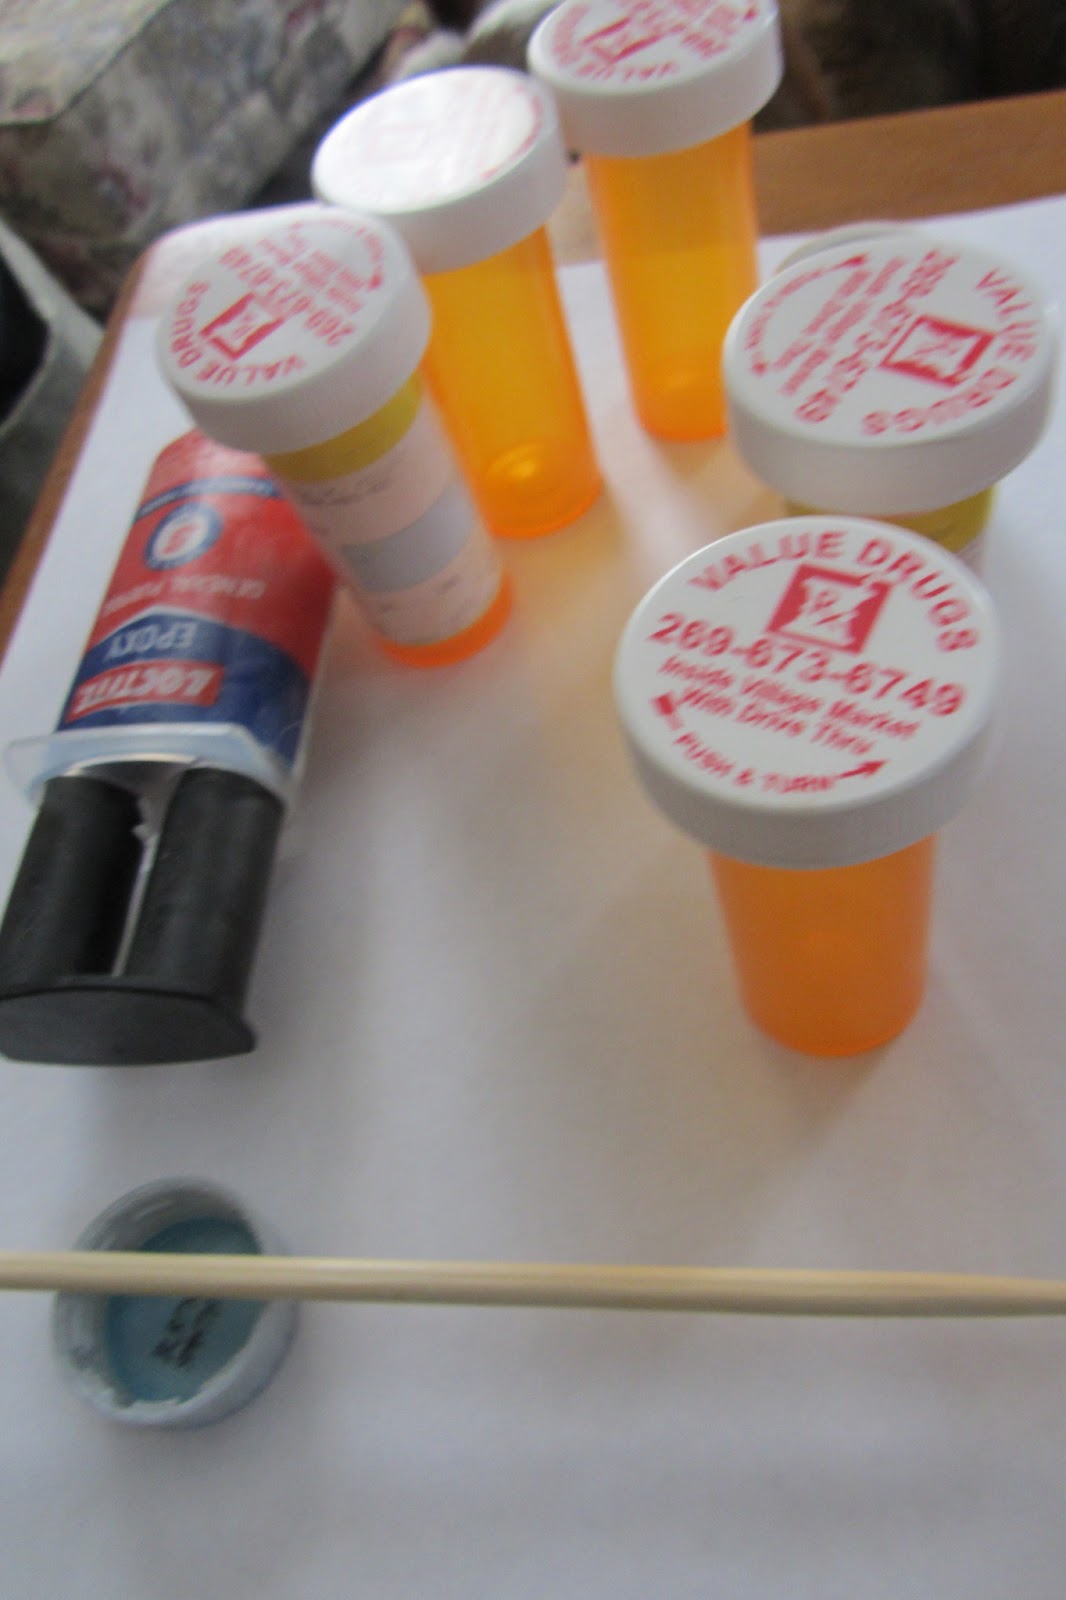
Once rolled and secure, set the beads upright  on the toothpick and set them for drying.  Brush the beads with sealant, let dry, repeat for at least three coats. You can find a good sealant here: 
sealant


Now the beads are ready to string. Choose colors, or by size, or shape, or combine everything as I did.  This is where it is fun as you see your creation take shape.  I used a filler spacing bead just to make a nice consistency in my necklace.  I love the results.  I hope you do to.  Enjoy. 

  Heart of Crafting 


Click Here!


Sunday, January 27, 2013

Recycled Wool Sweater Mittens

Day by Day  Crafting!

    
    It's time for mittens!


I love these mittens.  They are so cute, so easy, so warm, and they are made from recycled sweaters and wool.  

To make a pair you will need thrift store wool sweaters, fleece for the lining, and embellishments.

Half of the fun of making these mittens is shopping for the wool.  For about $10 I can find wool suits and beautiful wool sweaters (sometimes the ugly sweaters make the cutest mittens) that will make several pair of mittens.  

Take a few hours and shop the local thrift stores.   You will want to find items that contain as close to 100% wool as possible. Then look for those inexpensive fleece wool blankets.  I have found them for as little as $2.50 each.  They come in so many cute prints and just about every color you can think of.  You can make your lining as cute as your wool exterior.

Once you have your wool, strip any buttons from it and throw the wool in the washer on hot.  You want the wool to shrink and felt together to bind the fibers to make an extremely tight woven fabric that will withstand the cold.  The higher percentage of wool, the tighter the fiber will become.  Dry on hot as well.

Now the fun begins.  Using the patterns that you can download here, cut out a variety of wool for each section.  Sometimes the most unusual combinations make the most adorable mittens. 

I found a great video that is really good at explaining how to sew the mittens and what cautions you need to take in order to avoid two right hands instead of a set pair.  I would step by step it out for you, but this video is so much better than me trying to explain it.  mittens video

If you would like a pre-made pair of mittens, visit my store. http://explorecreatecraft.homestead.com/Store.html


Saturday, January 26, 2013

Making A Corn Massage Bag

Day by Day  Crafting!


Making a Massage Corn Wrap

 I believe than this craft would be on my top 10 list of favorite crafts to make.  I have used it more than anything I have made to date. 

As I age, I have aches and pains in muscles I didn't even know I had.  My circulation is poor and I am always cold.  A corn bag takes care of the aches, soothes the pain, and offers so much warmth to my hands, feet, head and neck.  I can warm my bed and it acts to massage when I lay it on the floor and roll my feet across it.  The corn heats in seconds offering relief instantly.  I love it! 

 Supplies:

Field corn (whole kernals)
Fabric


Making a corn wrap is so easy.  Simply find a cute fabric, cut two pieces (20" in length, 5 " wide).  Place the two pieces right sides together and stitch around leaving an opening to fill with corn.  Turn right side out.


Next, divide the strip into thirds.  Mark a line down the fabric at the thirds lines. 
Begin filling with corn.


When you get the first third filled, stitch down the marked line sealing in the corn at that end.


Now fill the other end, stitch as before.   


Finally, fill the last section up to the opening.  Pin the opening shut and stitch across sealing in the last section.  Trim the loose threads.  Your corn bag is ready to heat and use.  Enjoy! 


It is a good idea to create an outer pouch to hold the bag.  Make it the same way as the corn bag only don't divide it into thirds.  Instead, leave the opening at the end.  Fold down the raw edges, fold down again to form a casing.  String a cord through the casing.  Slide the warm corn bag into the pouch before using.  Drape the corn bag with the pouch attached to your neck, feet, etc. The pouch can be removed and washed after use.  Using the pouch will help keep your corn bag clean as the bag of corn itself can not be washed without ruining the corn inside.  

If you would like a pre-made corn bag, visit my store: http://explorecreatecraft.homestead.com/Store.html

Friday, January 25, 2013

Natural Wreaths


Natural Wreaths

One of the most satisfying  projects for me is an all natural wreath.  What could be more simple, low cost, and beautiful than making your own wreath from the materials in nature.


My favorite medium for a wreath is the grapevine.  Since I live in a rural area, I have easy access to natural grapevine.  I find it growing along our fence rows, in the ditch behind our mailbox, and even creeping up the back of the house.  It's everywhere.  


If you live in the city, but take walks in the forest or on natural trails, you will find grapevine.  Look for vines running up trees and into bushes.  They tend to take over the host plant with their curly q's grabbing every twig in their path. 


The grapevine is easy to spot.  It has five leaves in a fairly well spread out distance between clusters.  When you are looking for your vine, be sure that you have not confused it with poison ivy (which tends to grow in the same areas and often mingles with the grape vine).  If you see any sign of a three leaf vine in and around the grapevine, leave and find your grapevine elsewhere.  It is not worth it to try to pull grapevine if there is even the slightest chance you might be exposed to the ivy vine.


I like to pull the young vines that are thin, and can be traced right down to their roots in the ground.  Often they are well spread over the limbs and bushes, but because they are young, they are flexible and easy to pull out.  Carry a pair of heavy duty scissors or pruners with you.  It makes it so much easier to cut.   As I pull, I wind.  It makes it so much easier to wind and shape as you go.  The vines have not dried out at this point and will bend and shape into your ideal size if you wind them on the spot.


I also look for natural objects to incorporate into my wreath.  Acorns, pine cones, dried weeds (or ones that can be dried) like Queen Anne's Lace and milkweed pods, are just a few of the many natural wonders you can find to adorn your wreath. 


If you look at the pill bottle organizer, (Jan. 24th post) you will see one of the flowers made from Money plant. They make wonderful wreath fillers.  I also use my little gourds (spinners that look like mini bottle gourds are very cute) to decorate the wreaths.  The bread dough roses, pussy willows, gourd buttons & seeds,  just about any of nature's abundance gives beauty to your wreath.  I even use feathers and horse hair to embellish my wreaths.  But I think my favorite filler is the green snowball bush flower.  If I pick it before it has the chance to turn white, it will dry and keep its green color.  It is thick, intricate in each tiny little green floret, and it lasts. 


Simply use your creativity to fashion the wreath that fits your style, personality, and special occasion. 


Assemble your wreath using hot glue to arrange whatever embellishment you choose for your wreaths.  Have fun creating your own special wreath today.

Thursday, January 24, 2013

Pill Bottle Organizer


When you take a lot of prescription medication as I must with a heart condition, one acquires an overwhelming abundance of empty pill bottles.  What to do with them has been my constant dilemma.  I can never throw anything away.  Besides storing seeds, I haven't developed a craft venue for these viles, until now. I had been trying to glue the pill bottles together to make a little organizer for desk & sewing supplies, but couldn't get past the large lip on the bottle.   At Christmas I made marshmallow shooters (tutorial to come) from pvc pipe and had several pieces left.  When I grabbed one of the pvc pieces I suddenly knew how I could make the pill bottle organizer work.  Using the pipe fitting as the center, the pill bottles would easily circle the fitting and create a cute organizer.   

Making Your Organizer


Supplies:
3"-5" high pvc pipe fitting

5 pill bottles

duel epoxy glue

tooth pick, or stir stick

disposable plastic bowl or bottle cap for mixing the epoxy

ribbon


Choose five pill bottles and remove the tops and labels.  You can use bottles that are all the same height, or you can graduate them from short to tall and create a spiral effect.  My bottles come in two heights so I chose to do a same height organizer as the spiral really doesn't work with only two sizes.


Arrange the bottles around the pipe fitting making sure they touch the fitting.  They should also touch at the  bottle lip, and will touch each other for the most part.  I did find that they didn't always touch each other well, but as long as the pvc touches, you will be able to make it work.


Follow the directions for mixing the duel epoxy.  Quickly adhere the glue to the pvc and press the bottles into the glue on the pvc.  It will set up quickly so be sure to make any adjustments to your arrangement right away.  Once I have the glue in place and the bottles secure, I take a rubber band and wrap it around the outside to hold everything in place.  Keep them held together for at least 12 hours.  


Remove the rubber band and replace it with a ribbon.  You can also tie a bow, decorate with fabric scraps, or just leave it plain.  The organizer will look like a flower if you mount it on the wall.  I use mine upright on the surface closest to me.  Every paint brush, pencil, loose items in general now have a home and save me endless minutes searching for where I last laid them down.  I love my organizer!


**That being said, I still would love to find some more ideas for these bottles.  I would like to put a challenge up to all of you to bring some ideas to the fold.  Please comment with your ideas and any link you might have to show off what you do with these bottles.


  Many of my finished products are available free on Listia.


Auctions for free stuff at Listia.com